Indoor water plants require less maintenance than most houseplants. Hanging or trailing plants can be easily planted in water and will need less maintenance. Begonias and Dieffenbachia are two examples of plants that are best suited for growing in water. This article has a complete list. It will give you some general tips to grow beautiful indoor water plants. These are some of the most common plants you can grow.
Growing plants in water requires less maintenance
If you want plants that are easy to maintain, then consider growing them in water. The most common types of indoor water plants include crotons, opuntia cactus, and lilies. There are many factors that affect the light requirements of indoor water plants. The labels will tell you how often to water your plants. Crotons typically need more water than cacti, and they're more sensitive to light. Crotons, Opuntia cruzi and Opuntia del santo are both plants that require similar levels of light but need different water. No matter what your preference may be, remember that soil moisture levels will affect how often you water them.
Houseplants grown from water can be grown in virtually any container, even a bottle. Indoor water gardens may take longer than soil-based plant growing, but indoor water gardens retain their lush, green look for many years. There are many benefits to growing houseplants in water. A cat owner won't have any problems with the soil of their houseplants. The plants that have been grown in water are also more resistant against pests and disease. In addition, houseplant allergens are lessened by dirt-free plants.
In water, it is easiest to root hanging and trailing plants.
A fresh cut is required to grow a plant in water. This can be either a stem, leaf, or root. If you want to grow a trailing plant, you should take a section of the stem just below a leaf node. This is where the plant will grow roots. Take out a few stem leaves. Then, place the cutting in water.
English ivy and English sage are two examples of easy-to-trail plants. It can be grown in water for several weeks, then transplanted to a soil medium. You can then replace the cuttings every few months by using new ones. It is best to grow water-growing vimy in a sunny spot. To prevent algae growth, it is important to make regular water changes. This hack allows you to easily root hanging plants in water and enjoy their beauty in a new way.
Here are some popular choices to help you choose the right type of trailing or hanging plant for your space. These plants will add colour to any space. These plants can add volume to your pot while creating a beautiful background. You might consider buying trailing Verbena, which is a prickly climber from east Africa, if you don’t have enough space.
Dieffenbachia
You might want a tropical houseplant such as a Dieffenbachia. These plants can grow up to 3 to 5 feet indoors and are very easy to maintain. The plant will recover quickly if it experiences care issues. Listed below are some tips for taking care of this popular houseplant. Palm mix is the best type of soil for a Dieffenbachia.
A dieffenbachia should be planted in a one-size larger pot than its original. Otherwise, the soil might stay too wet. The best time to repot plants is in springtime when the growing season starts. Once they are repotted, their environment will be ideal for them to thrive. Repotting can also be a fun experience. Just remember to follow the instructions carefully to get the best results from your Dieffenbachia plant!
Lighting is also an important factor when watering Dieffenbachias. They prefer low-light or indirect light. It will be difficult for the plant's leaves to be seen if you have a bright room. Indirect light is best for Dieffenbachia. The leaves will turn yellow from too much light. Overwatering the plant can lead to mushy stems, and rank growth.
Begonias
Begonias make great houseplants, and they can often recover quickly from failure. They have a delicate appearance, but are surprisingly hardy and low maintenance. Plant them in the spring or early summer. Begonias will thrive when given the right conditions. Keep your plants well watered and moist. Here's how you can propagate your begonias. If you have never tried propagating a begonia before, start with this simple method.
Begonias love bright indirect light so make sure to place them near a window. The leaves can be damaged by direct sunlight. A lamp may be needed to illuminate the area in winter. Begonias require a steady temperature of 60-70°F. They are also sensitive to drafty windows and doors. Begonias can be grown indoors. However, they can become sensitive to excess watering so make sure their soil is dry between waterings.
Before you begin watering your begonias indoors, you need to know their watering needs. Begonias need more water in hotter weather. Begonias require more sun during the afternoon. This is when it is most beneficial to water them. You should move them to a more shaded window if they become too hot. If temperatures are not suitable for begonias you can use a light grow lamp to maintain the humidity.
Paperwhites
It is very easy to grow paperwhites indoors. You can grow paperwhites outdoors in USDA Zones 8-11, or force them into pots on a patio. They do well in containers, but are best grown in soil, stones, or glass chippings. Once they have been established, you can bring them inside whenever you want a houseplant. This article will help you grow paperwhites indoors.
Paperwhites don't like cold temperatures so keep them at 65 degrees Fahrenheit. Although they can thrive in indirect sunlight and containers, paperwhites will not thrive in direct sun. If you are concerned about the possibility of them becoming too hot, it is best to place them in a cooler environment. They will thrive when the temperature is between 50-60 degrees Fahrenheit. The bulbs should be kept out of direct sunlight. Direct sunlight can cause flowers to wither quicker.
Because of their shallow roots, paperwhite bulbs don’t need large containers. A shallow pot with at least three inches of soil should suffice. To support the bulb, deeper containers will require more soil. For paperwhite cultivation, there are many soil options. The most common soil bases include pebbles and tumbled beach glasses, river rock, glass marbles, and river rock. Terra cotta pellets are another option.
Impatiens
No matter whether you grow impatiens in a pot or in a window box, they prefer a constant temperature between 65 and 70 degrees Fahrenheit (20 to 22 Celsius). Keep your impatiens out of drafts and away from cooling vents. They love humidity around 50%. Mist the plant once daily if it is below 75°F. Keep the top soil damp but not wet. Overwatering can lead to fungal infections.
Impatiens can thrive in fluorescent lighting if they are placed in a well-lit area. Impatiens can be transplanted easily and also grow well from cuttings. Once you have established the cutting you can start to propagate new plants by using them. Ask a friend for help. You'll have several dozen new plants in no time.
The ideal soil pH for impatiens ranges from 5.5 to 7.5. It is vital to maintain the pH of your soil. Too high pH can cause leaf fall. Impatiens are susceptible to pests, such as mites and aphids. These pests can be controlled by applying neem oil to the soil or adding beneficial nematodes. While most impatiens are pest-free, occasionally they do suffer from disease and insect infestations.
Duckweed
Duckweed is a great choice for raising plants in your aquarium. This plant grows best in water with a pH between 6.0 and 7.5, which is the same range as fish. A full spectrum LED lighting fixture is recommended to keep the plant healthy. You can also give it fertilizer, but you should avoid copper as it can cause shrimp to become sick. You can instead use a combination fertilizer that includes duckweed fertilizer and a high-quality fertilizer.
A balanced mixture of phosphorus (nitrate) and potassium is ideal for duckweed. This fertilizer is specially designed for plants in pots, and should be diluted five times in water. If duckweed is to be grown, it must be in a place that gets at least six hours sunlight per day. Remove any excess water from your pot before adding the plant to it. The duckweed should then flourish.
When growing duckweed indoors, make sure the containers are not overly full. To maintain a constant water level, use a small pump. You can also place your duckweed plant in a plastic or glass container with a lid if you don't have a pond. If your duckweed plant doesn't bloom, drain excess water and disinfect the container to kill any pests. To ensure it remains healthy, inspect the duckweed every so often.
FAQ
How do I prepare the soil for a garden?
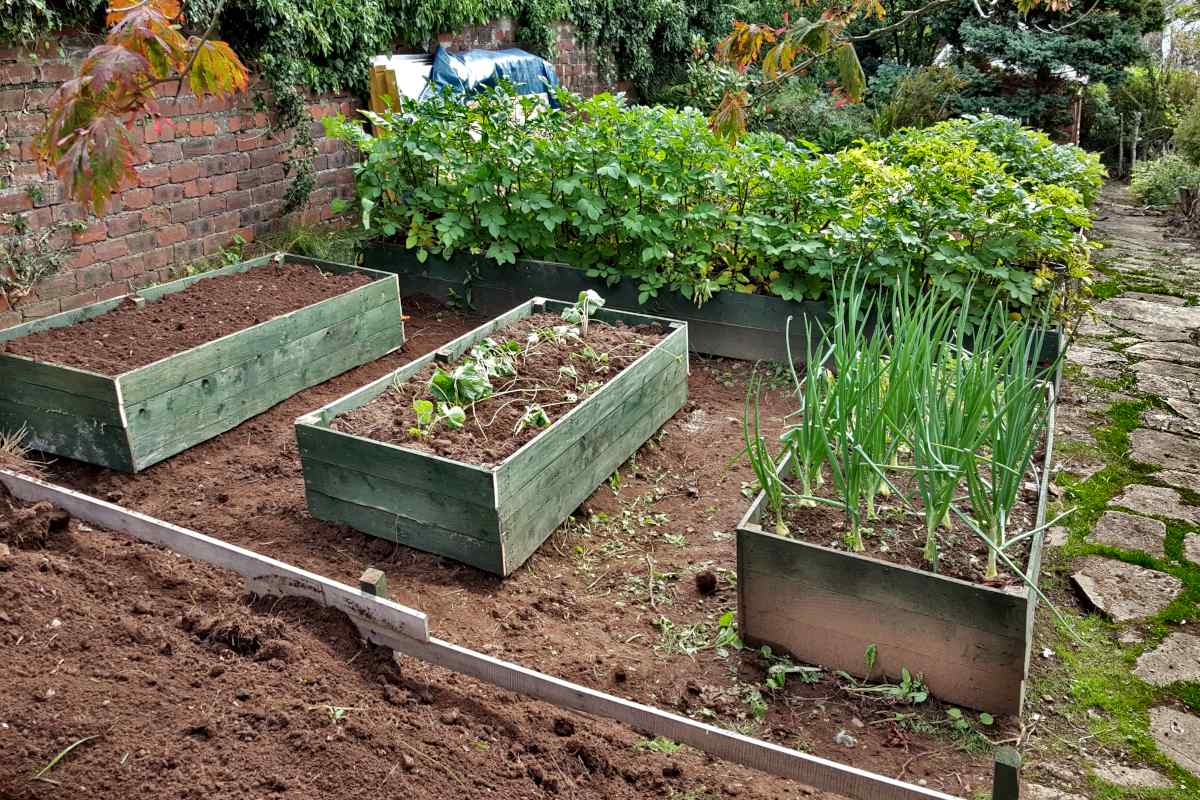
It's easy to prepare the soil for a vegetable gardening. First, remove all weeds in the area where you plan to plant vegetables. Next, add organic matter like composted manure and leaves, grass clippings or straw. Let the plants grow by watering well.
When is the best month to plant a vegetable garden in my area?
It is best to plant vegetables between April and June. This is when the soil gets warmest, and plants tend to grow quickly. If you live outside of a warm climate, you might be better off waiting until July or August.
When to plant herbs?
Spring should be when the soil temperature reaches 55 degrees F. Plant them in full sun for best results. Plant basil indoors by placing seedlings into pots containing potting mix. Keep them out of direct sun until they sprout leaves. Once plants start growing, move them into bright indirect light. After approximately three weeks, transplant them into individual containers. Continue to water them as needed.
What should you do first when you start a garden?
The first thing you should do when starting a new garden is prepare the soil. This includes adding organic matter like composted cow manure, grass clippings leaves, straw, and so on, which will help to provide plant nutrients. Next, plant seeds or seedlings into prepared holes. Finally, water thoroughly.
What is the best vegetable gardening layout?
It is important to consider where you live when planning your vegetable garden. You should plant vegetables together if you live in a city. If you live in a rural location, you will need to space your plants out for maximum yield.
Statistics
- As the price of fruit and vegetables is expected to rise by 8% after Brexit, the idea of growing your own is now better than ever. (countryliving.com)
- 80% of residents spent a lifetime as large-scale farmers (or working on farms) using many chemicals believed to be cancerous today. (acountrygirlslife.com)
- It will likely be ready if a seedling has between 3 and 4 true leaves. (gilmour.com)
- Most tomatoes and peppers will take 6-8 weeks to reach transplant size so plan according to your climate! - ufseeds.com
External Links
How To
How to apply Foliar Fertilizers
Foliar fertilizers are applied directly to the leaves of plants through spraying. They are used to add nutrients to plants. They can be used on any plant, such as fruits, vegetables, plants, flowers, trees and shrubs, grasses and lawns.
When applying foliar fertilizers, there is no risk of soil pollution. The amount of fertilizer needed depends on the type of plant, its size, and how much foliage it has. It's best to use foliar fertilizers when the plant is actively growing. This will allow them to absorb nutrients quicker. These steps will help you fertilize your garden.
-
Be sure to understand what type of fertilizer is needed. Some products only have one nutrient while others contain multiple elements. Ask your local nursery if you don’t know what product you need.
-
Be sure to follow the directions. Before spraying, read the label. Spraying near windows or doors could cause damage. Keep away from children, pets.
-
Use a hose attachment if available. To avoid overspray, turn off the nozzle after every few sprays.
-
Mixing different types can lead to dangerous results. Mixing two types of fertilizers can lead to harmful side effects such as leaf burning and staining.
-
Spray at least five feet away from the trunk. A minimum of three feet should be left between the tree trunks and the edge of your area where you plan for fertilizer application.
-
Wait until the sun is down before applying. Sunlight causes light-sensitive chemicals in the fertilizer to break down.
-
Apply the fertilizer evenly to the leaves. Spread the fertilizer evenly over large areas.
-
Let the fertilizer dry completely before watering.